Matteo CombaTeonoir Studio

(09) Free guides

Learn to see.

How I shoot and grade at the track, explained in a few seconds. And for anyone starting from zero, three pages with the basics.

For beginners.

What I wish someone had explained to me when I started, with real race photos and footage.

Shooting trackside.

Five guides shot at the 24 Hours of Spa. Every step with the settings I actually used.

01

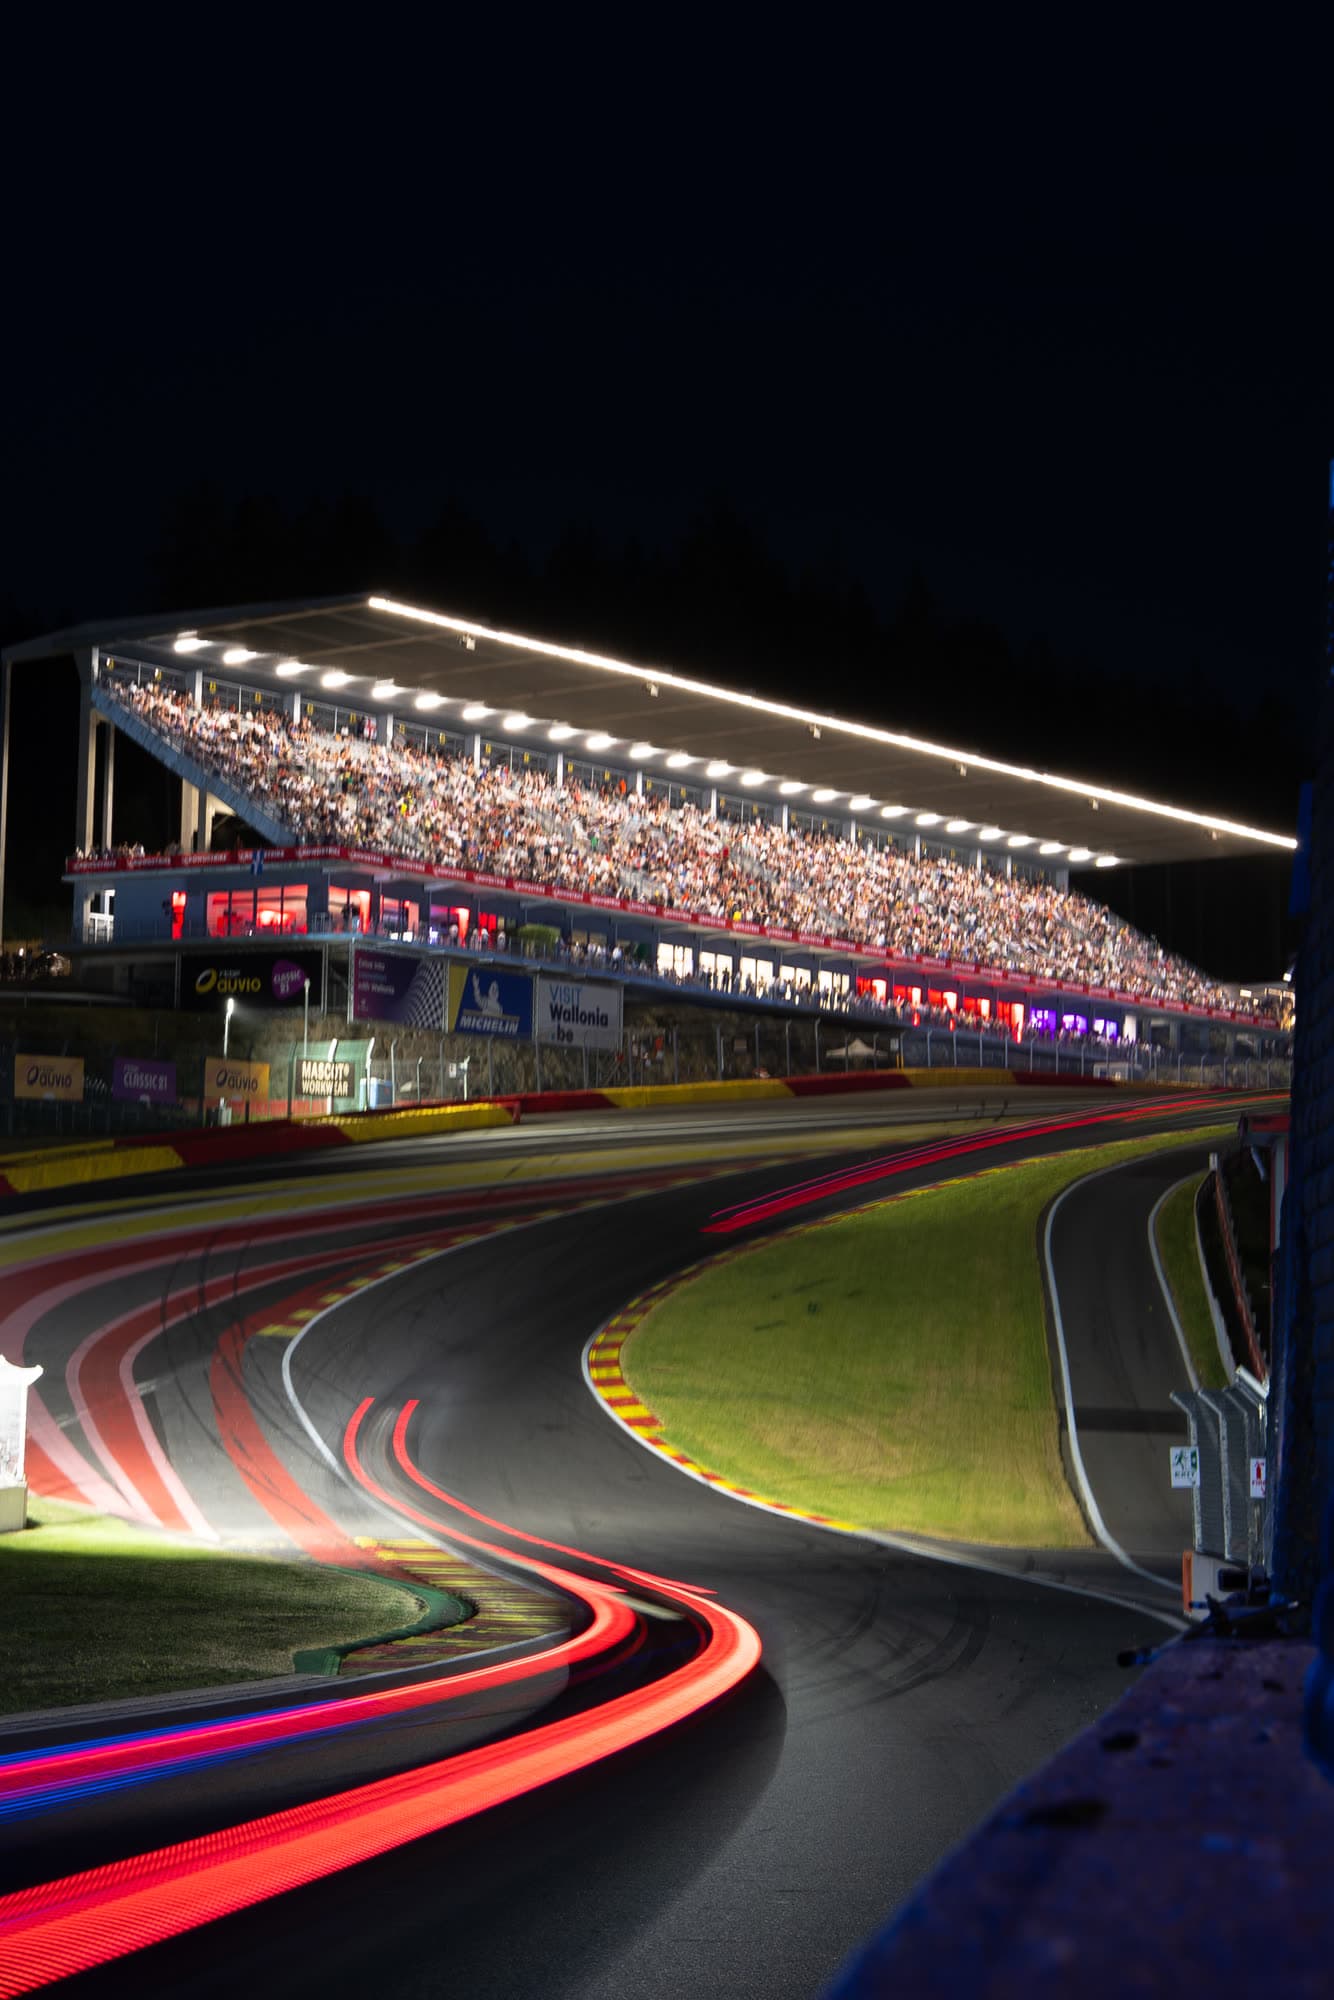
Light trails

How I shoot headlight trails at a night race.

  1. Lock the camera: tripod, wall, fence. The slightest shake ruins the shot.
  2. Slow shutter, 1 to 2.5 seconds: long enough for the lights to draw the whole corner.
  3. ISO 100 and a closed aperture (f/8, f/9): clean blacks, sharp from kerb to grandstand.
  4. Press the shutter when the headlights enter the frame.
02

Panning

Sharp car, background in motion.

  1. Slow the shutter: between 1/160 and 1/60. Slower means more blur and more misses.
  2. Track the car before the click and keep swinging after it.
  3. Continuous autofocus and burst mode.
  4. Accept the misses: most frames come out soft, one comes out perfect.
03

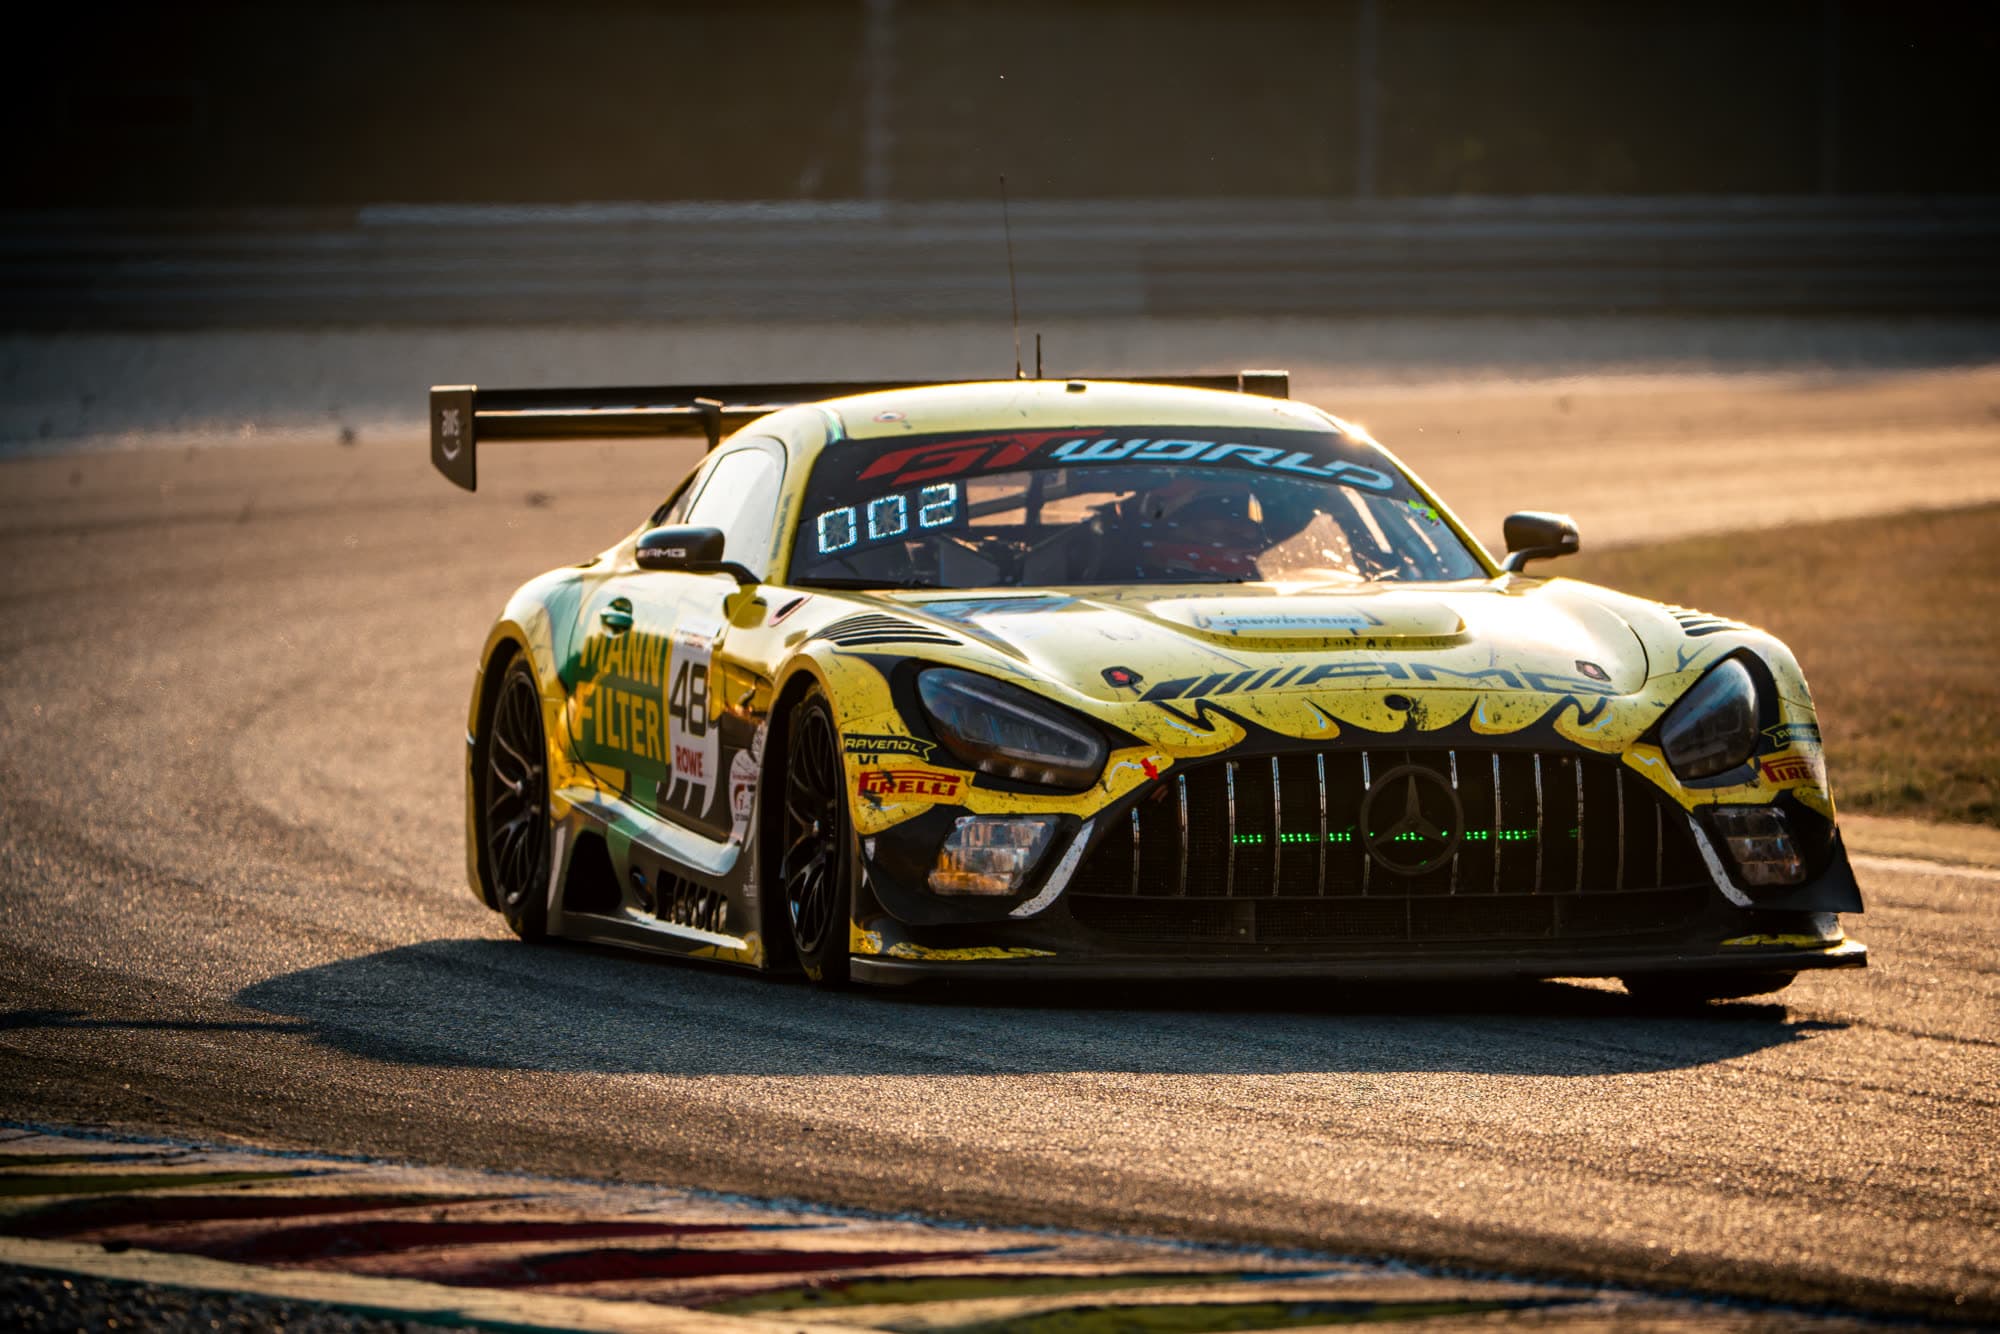
Golden hour

How I shoot cars against the sun.

  1. Put the light behind the car: dust and haze start to glow.
  2. Go long: at 200 mm the layers stack up and the light feels closer.
  3. Expose for the highlights and let the shadows go dark.
  4. Be there early: the best light lasts minutes, right after sunrise.
04

Shoot through

How I add depth with a foreground.

  1. Find a foreground: fences, kerbs, barriers, leaves.
  2. Get close to it, almost touching the lens: it melts into a soft blur.
  3. Open the aperture: the foreground blurs and the car stays sharp.
  4. Lock focus past the obstacle, then wait for the gap.
05

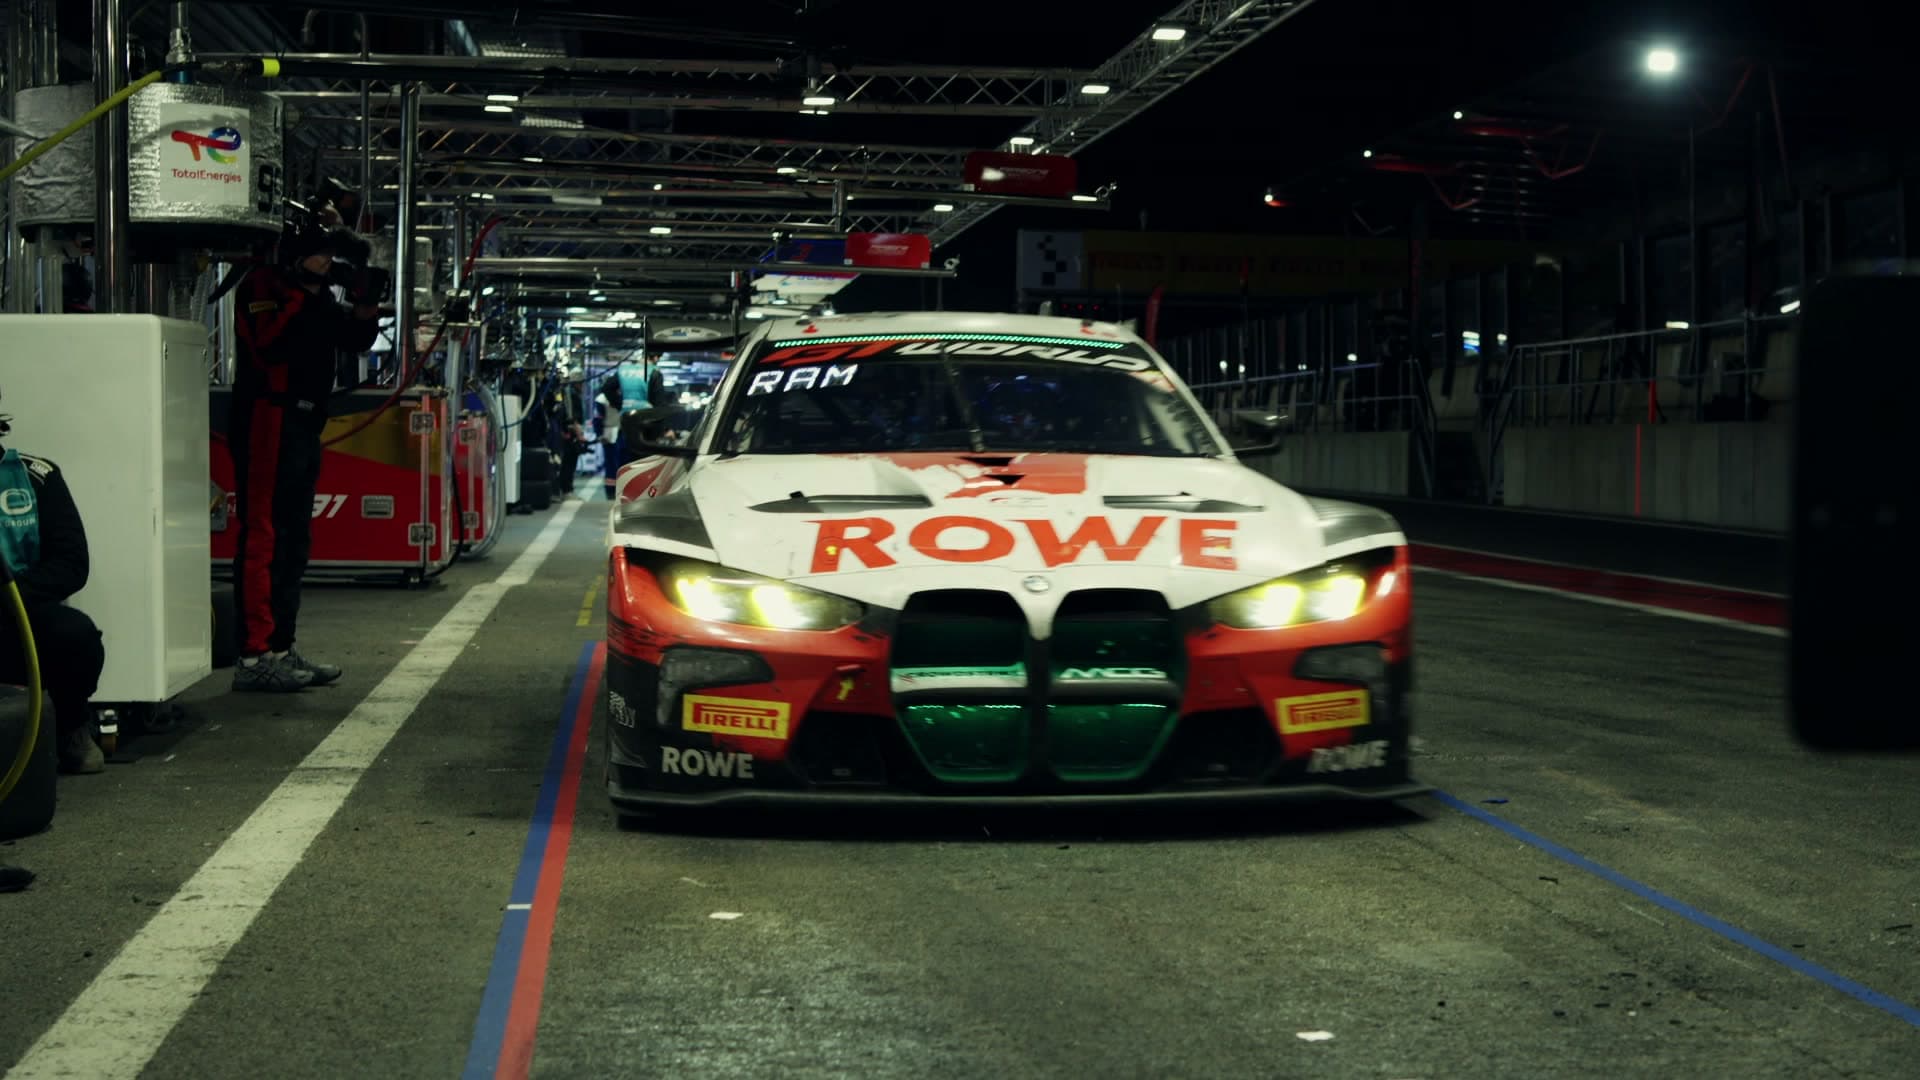
Pit lane portraits

How I shoot drivers and crew.

  1. Get close: fill the frame with the helmet and leave the chaos outside.
  2. Focus on the eyes, through the visor.
  3. Watch the background: dark or blurred, nothing that steals attention.
  4. Wait for the moment, before or after the stint. Never ask them to pose.

Editing and color.

Lightroom for photos, DaVinci Resolve for video. The screens are the real software.

06

A race photo in Lightroom, step by step

From flat to finished, with the real Lightroom Classic panels on screen.

  1. Tone: highlights down, shadows up, contrast, whites and blacks.
  2. Texture, dehaze and vibrance to give it body.
  3. Color mixer and calibration for the livery colors.
  4. Four masks: subject, sky, tarmac and a radial on the car.
07

From flat to final in 5 steps

How I color grade an S-Log3 shot.

  1. Exposure: log footage is flat on purpose, first bring it back to normal.
  2. White balance: kill the color cast, white must be white.
  3. Contrast: deep blacks, clean highlights.
  4. Saturation: bring the colors back, never too much.
  5. The look: only now comes the style, the part people call a filter.
08

My DaVinci Resolve node tree, one node at a time

A Ferrari 499P over the kerbs at Imola, graded node by node with the real node tree on screen.

  1. Conversion from S-Log3 to Rec.709.
  2. Exposure, contrast, saturation, white balance.
  3. The look, then a mask to guide the eye.
  4. The final node that ties it all together.
09

One filter, five steps

The start of the 24 Hours of Spa, one continuous shot graded in five steps.

  1. Exposure.
  2. White balance.
  3. Contrast.
  4. Saturation.
  5. The final look.

New guides every week

WhatsApp